Laser Cutting
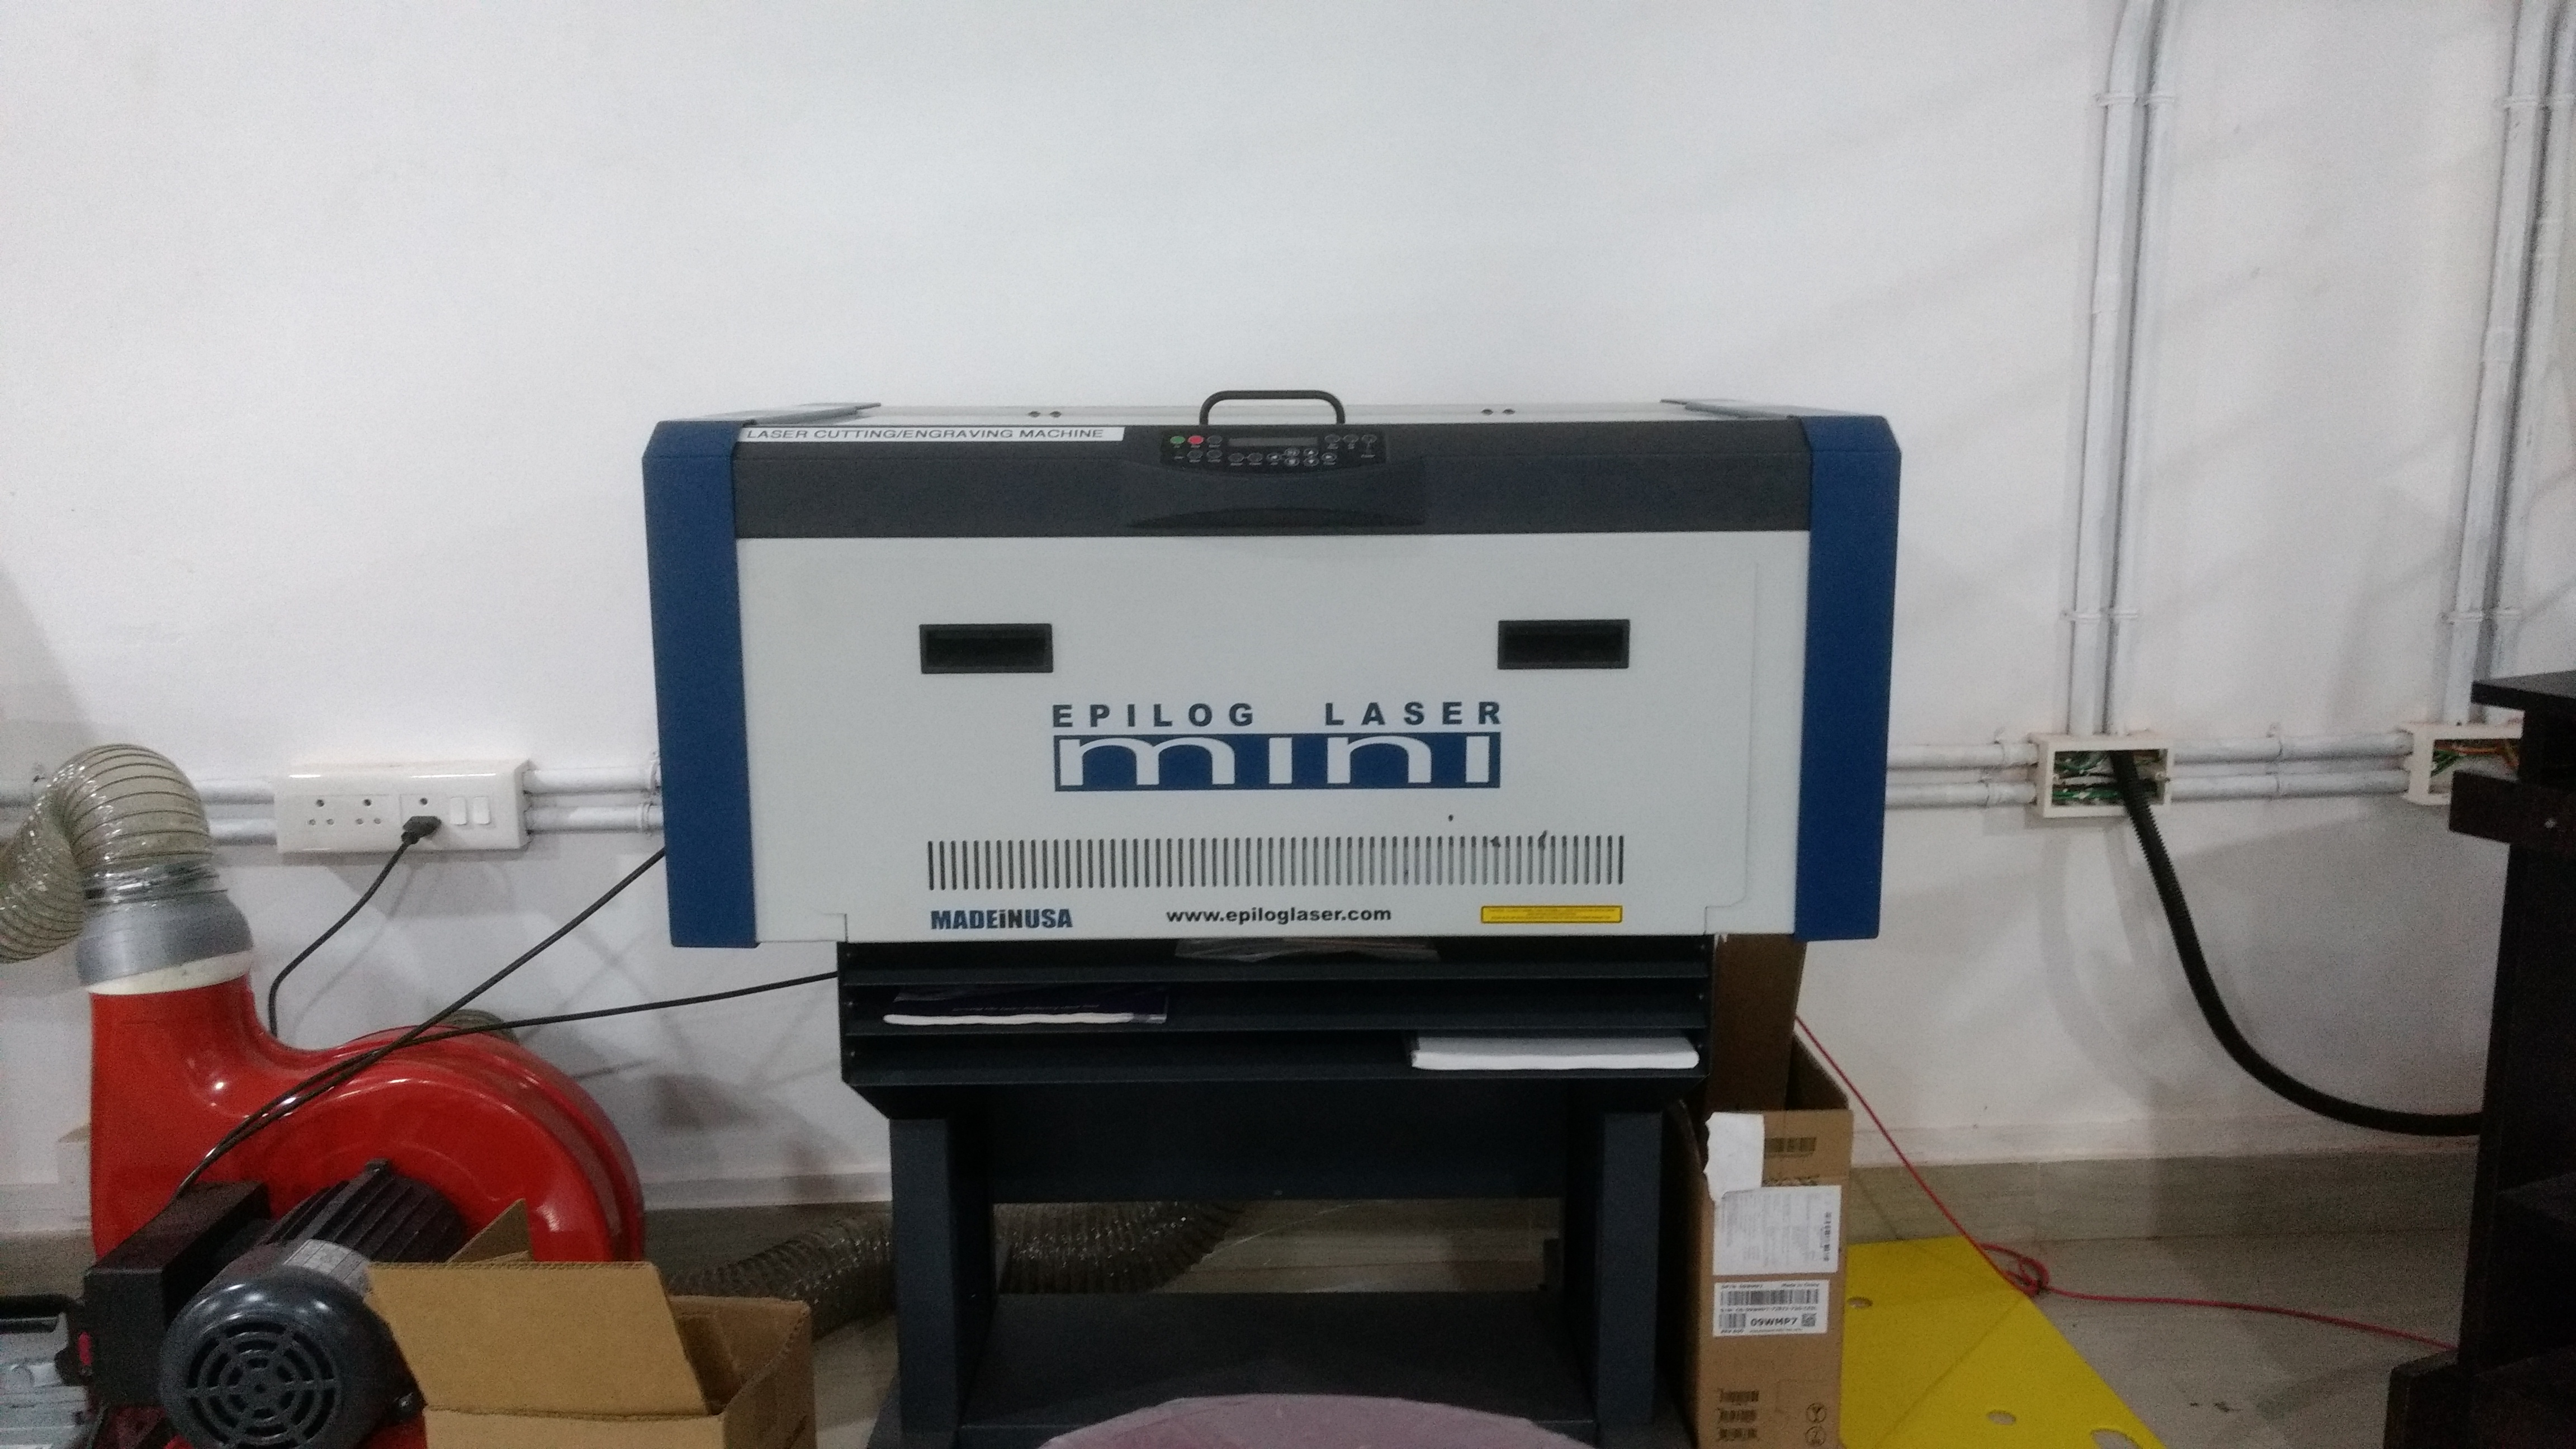
Laser Cutter can used for two functions
1.Cutting
2.Engraving
Laser cutting is a technology that uses a laser to cut materials, and is typically used for industrial manufacturing applications, but is also starting to be used by schools, small businesses, and hobbyists. Laser cutting works by directing the output of a high-power laser most commonly through optics. The laser optics and CNC (computer numerical control) are used to direct the material or the laser beam generated. A typical commercial laser for cutting materials would involve a motion control system to follow a CNC or G-code of the pattern to be cut onto the material. The focused laser beam is directed at the material, which then either melts, burns, vaporizes away, or is blown away by a jet of gas, leaving an edge with a high-quality surface finish. Industrial laser cutters are used to cut flat-sheet material as well as structural and piping materials.

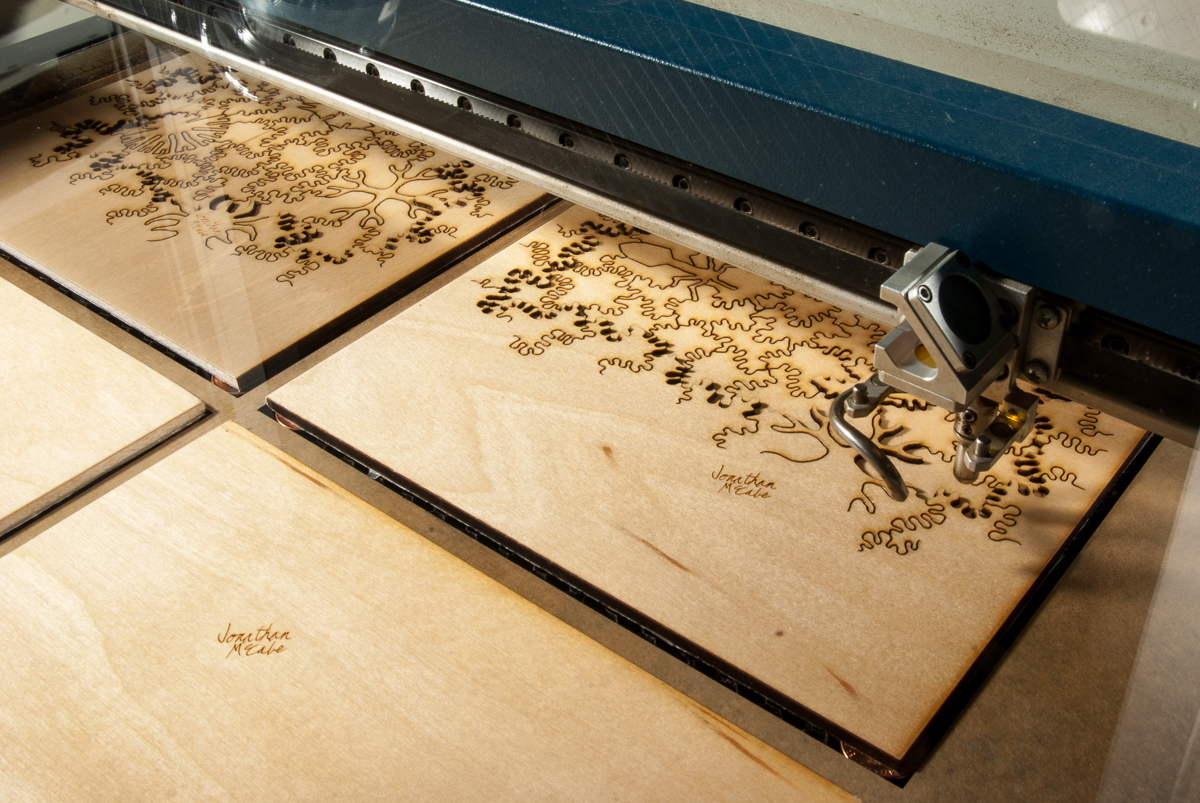
The machines for laser engraving and laser marking are the same, so that the two terms are sometimes confused by those without knowledge or experience in the practice.
Moulding and Casting
PROCEDURE
Molding is the process of manufacturing by shaping pliable raw material using a rigid frame or model called a pattern. In this process a pattern of Fan blade is used, which has machined on desktop CNC machine with modeling wax material (Please refer experiment”3D Machining”). The pattern used for making a rubber compound mold is shown in fig-1)
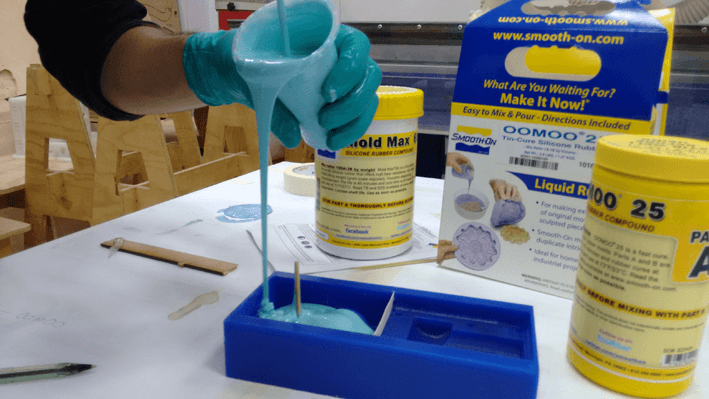
The material required for urethane rubber molding and casting are:
1. Urethane Mold compound
2. Rubber Mold Compound
3. Container
4. Stirrer
5. Mold Cavity

Fig1 3D fan model, container, urethane and rubber mold

Fig 2. Equal amount of Urethane and rubber mold
Step 3:Mix both urethane and rubber compound thoroughly and gently so that there should not be any air entrapment in the mixture as shown in fig 3, 4 and 5.

Fig 3. Mix urethane compound

Fig 4. Mix the rubber compound in the urethane compound

Fig 5. Steering the both compound thoroughly, Pour ready mixture in fan mold of wax
Step 4: Pour Liquid rubber compound slowly and gently over the milled object make sure that it should raise little above the height of object, After pouring the compound into mold as shown in fig 6.

Poured mixture of urethane and Rubber compound
Step 5: Keep object of Poured liquid rubber compound at room temperature for 4 hours, remove mold from object after set time is over, and Remove the solid rubber mold cavity gently from the wax impression.

Rubber mold cavity from wax impression
Step 6: Mold cavity is ready for pouring of plastic or Instamold or Dry stone powder, in this process Instamold powder is used.

Prerequisite for instamold
Step 7: Mix the powder gently with the water, in such a way that, first take water in a cup add 1/3rd of powder stir it again repeatedly add powder in to the water until it converted into slurry. Never add water in the powder, add powder into the water.

Steer the combination of instamold powder and water to make slurry
Step 8:Now pour the slurry gently into the mold cavity until the mold cavity is fully filled, and Keep the mold cavity for curing up to 1-1:50hr or until it becomes solid.
.JPG)
Pouring slurry into cavity
Step 9:Remove the cast part gently from the cavity.

Instamold object from mold cavity